
© Copyright UAB “TableAir” 2020
All rights reserved.
No part of this manual may be reproduced in any form, by print, photoprint, microfilm or any other means without written permission from the publisher.
In spite of all care taken in composing the text and illustrations, neither the editor nor the publisher can accept any liability for possible damage that might result from any fault that may be in this publication.
Information in this document is subject to change without notice and does not represent a commitment on the part of TableAir.
User Manual version history
| Rev. 1.0 | 9th January 2019 | First release |
Introduction
This is a manual instructing on how to set up the TableAir meeting rooms app on your Android tablet. Using an app called FDroid we will install our Meeting Rooms application which is used in our Meeting Room tablets.
Software setup
Installing FDroid
To install FDroid you can need to have a file called FDroid.apk on your tablet. So you can either download it on a PC and use a USB to Mini USB cable (or whatever port is in your tablet) to transfer the file to the tablet, or download the file directly on a tablet.

The file is located here http://fdroid.tableair.com/FDroid.apk
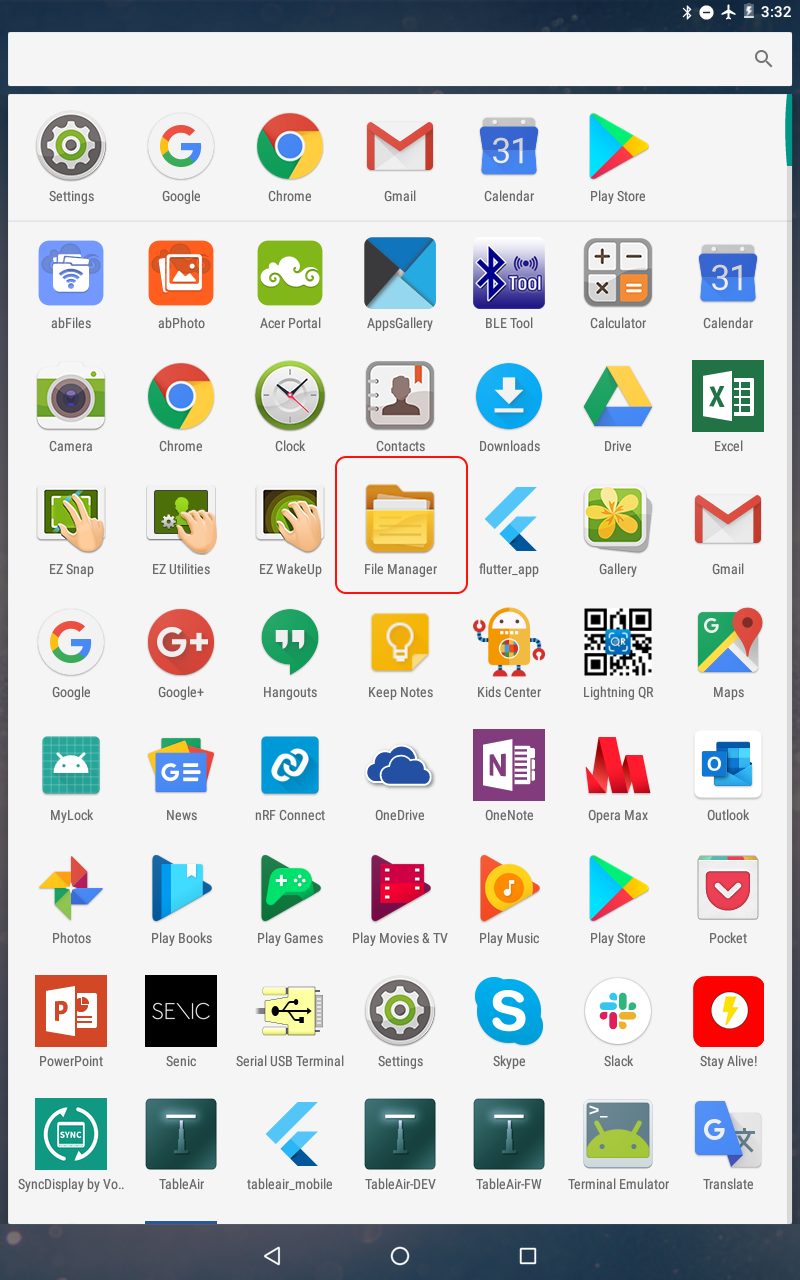
After downloading it and having it on your tablet, find it using an app File Manager (or something similar) and launch it. An app called FDroid will be shortly installed.
Continue to internal storage


And continue the installation by accepting everything.
Installing the software
Now that you have everything prepared, you need to open the FDroid app.

There, you need to press the option located at the top of the screen called ‘Meeting Rooms’.
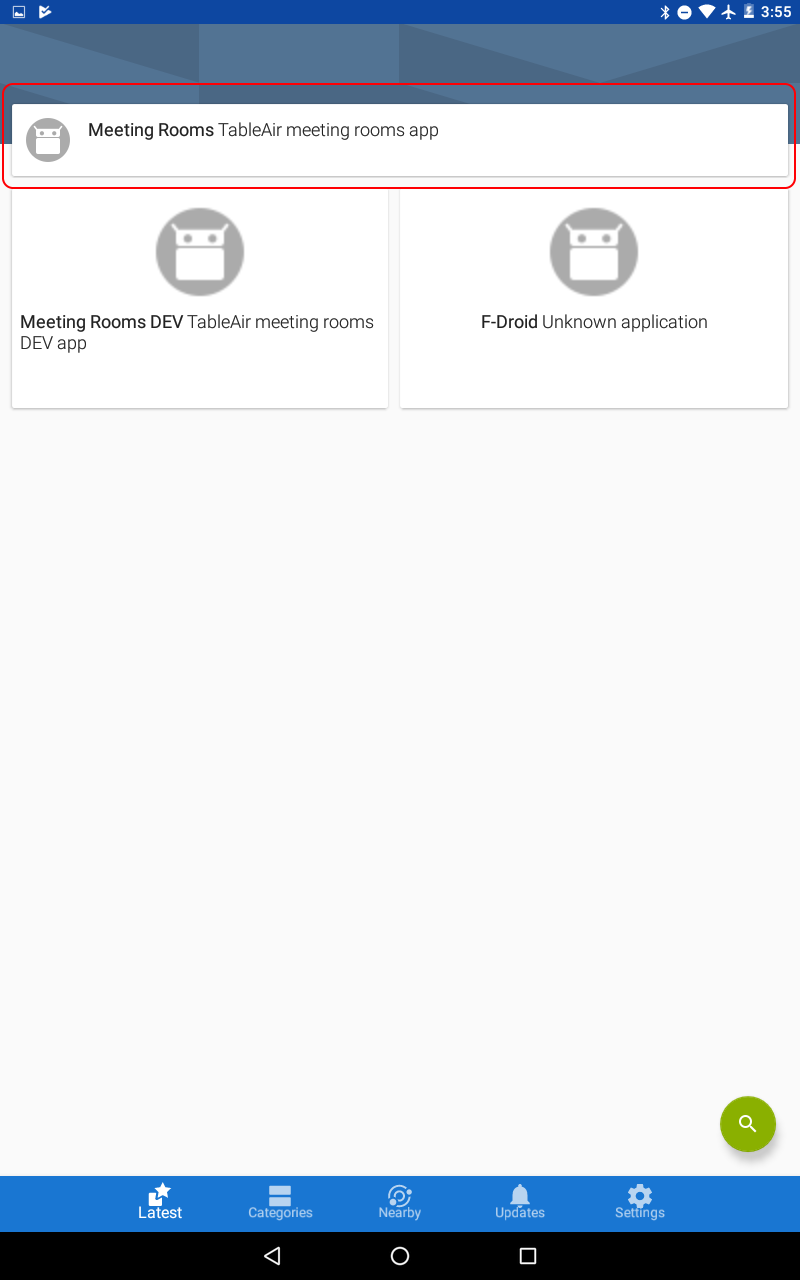
And install it.
Note: you may get some warnings about the app, you can ignore them.
Configuring kiosk mode
App pinning
The next step is to make your tablet into a kiosk.
To do that, you first need to enable ‘app pinning’
Go to Settings → Security → Screen pinning and enable it (On)
Next, launch the ‘meeting rooms’ app, and in the bottom-right corner press the lock icon – this will enable so that your app cannot be exited via normal means.
Hiding the bottom system bar
The next step in remaking your tablet into a meeting room tablet is to hide the bottom system bar.
To achieve that, you will need to download an app from the Play Store.
Go to the Play Store and in the search bar type in GMD full screen immersive mode
This is the app you are looking for:

And install it.
After installing it, open it and give the app all the permissions it asks for.
After setting everything up, you will see a list of apps. Disable everything for the ‘Meeting Rooms’ app (make sure every box is unchecked).
Launching on startup
For this, we will also need to download an app in the Play Store. But before that, you need to go to Device → Home → Meeting Rooms and choose ‘Meeting Rooms’ as the default home app.
Now go to the Play Store and type in the startup manager. This is what you are looking for:

And install it.
After installing it, open it and in the app press ‘Add to AutoStart’ and check two apps: ‘Meeting Rooms’ and ‘Full Screen Immersive Mode’, then click Save.
Note: if, sometime, for some reason, the navigation bar is visible, swipe the top navigation bar and press this button:
