© Copyright UAB “TableAir” 2022
All rights reserved.
No part of this manual may be reproduced in any form, by print, photoprint, microfilm or any other means without written permission from the publisher.
In spite of all care taken in composing the text and illustrations, neither the editor nor the publisher can accept any liability for possible damage that might result from any fault that may be in this publication.
Information in this document is subject to change without notice and does not represent a commitment on the part of TableAir.
User Manual version history:
| Rev 1.0 | 3rd March 2021 | First release |
| Rev 1.1 | 21st June 2021 | Updated pictures |
| Rev 1.2 | 21st January 2021 | Updated pictures, login flow |
| Rev 1.3 | 27th January 2022 | Updated pictures, added resource list, floor map, calendar updates |
| Rev 1.4 | 15th February 2022 | Colleague module explanation added |
| Rev 1.5 | 22nd March 2023 | Whole instructions update |
Warnings and statements
Warranty and support services
Technical support
Should you need technical assistance please contact “TableAir” UAB.
Tel: +44 20 3322 4746
Email: support@tableair.com Web: www.tableair.com
Return Merchandise Authorization
Please contact via numbers above to receive an RMA number before sending your product back to us for repair. Products sent without an RMA number will be returned to sender.
One-year limited warranty
- This device is guaranteed against manufacturing defects for one full year from the original date of purchase.
- This warranty is valid at the time of purchase and is non-transferable.
- Damage caused by accident, misuse, improper storage, and/or uncertified repairs are not covered by this warranty.
- Warranty is only valid in the country of purchase.
- We assume no liability that may result directly or indirectly from the use or misuse of these products.
Introduction
QR codes are a simple and cost-effective solution to office management and an alternative to hardware sensors. You can learn how to generate QR codes for your workspaces in the Administrator’s manual. Once generated, these QR codes represent the workspaces, which you can then book using the app. The Check-in app can also be used as a means to check-in. That way you will be sure to let your colleagues know where you are at the office.
The app is available for Android and iPhone devices in the Play Store and App Store, respectively. You can find it by searching for TableAir Workspace.
Usage instructions
Logging in
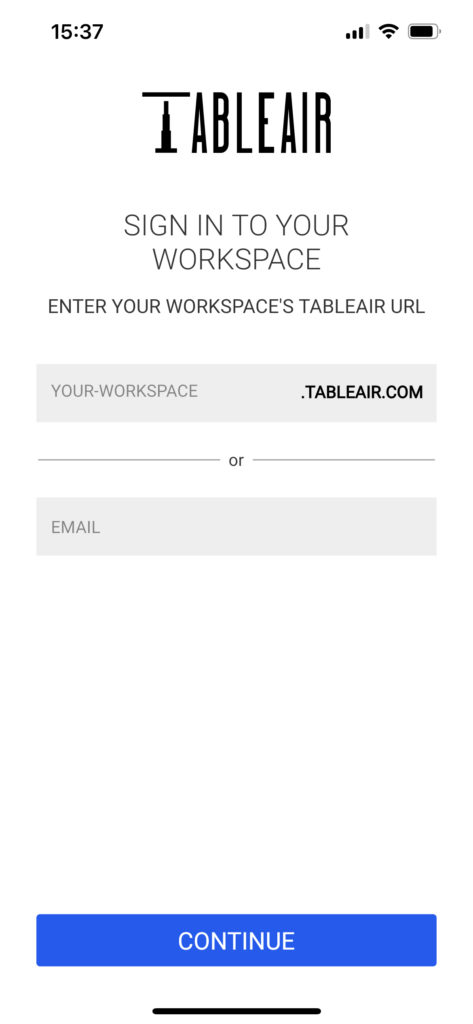
Once you have launched the app you will be prompted to log in. You will have two options available to you:
You can enter your team URL, in case you do know it, e. g. mycompany. Once you click continue, you will be brought to your team’s login screen:
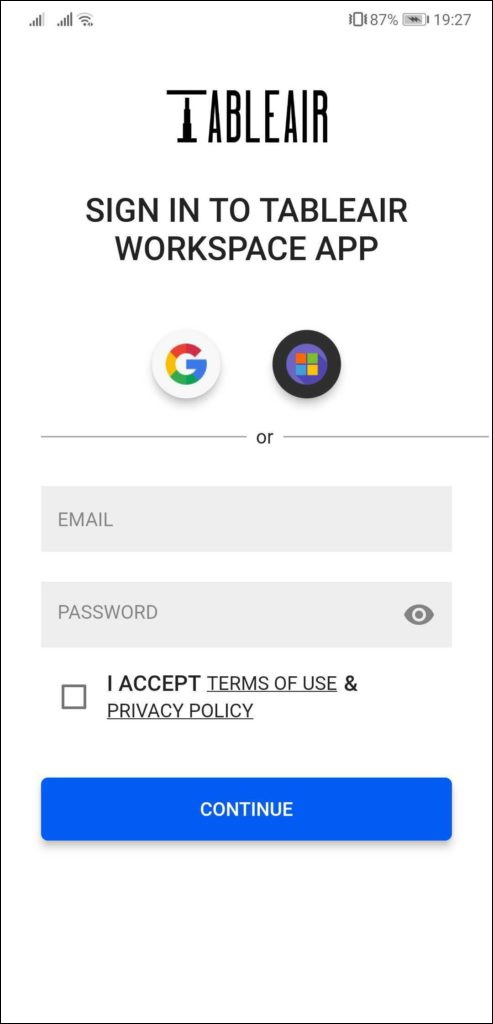
Note that the options available to you may differ based on what your account administrator has set up. Additionally, make sure to agree to our Privacy Policy.
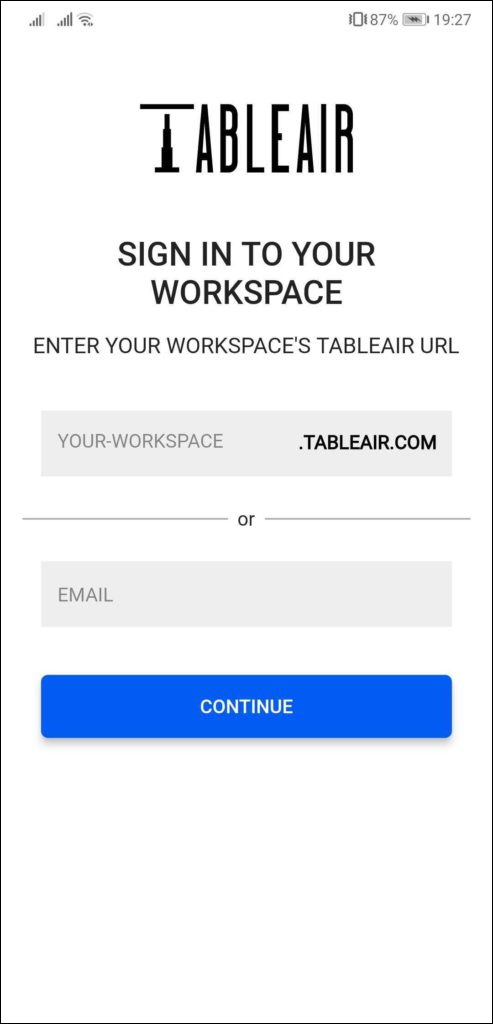
In case you do not know your team’s URL address, you can enter your email address and once you click Continue, you will be brought to your teams login screen automatically. If you belong to more than one team, you will be shown a list of those teams. Choose the one you want to log into from the list and, again, you will be brought to your team’s login screen.

Making a booking
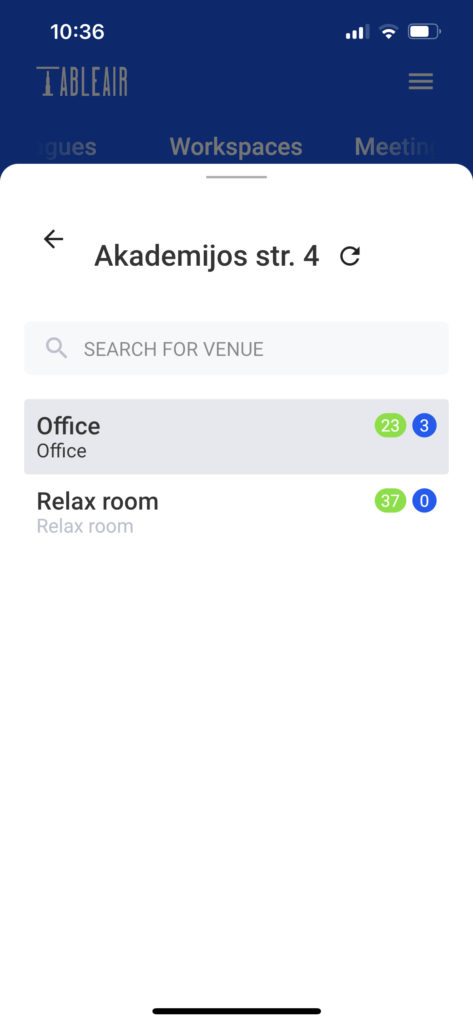
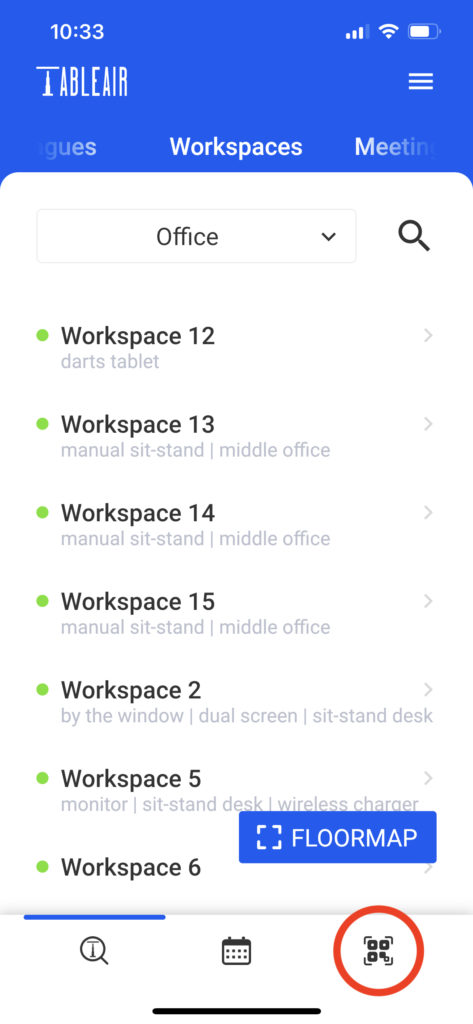
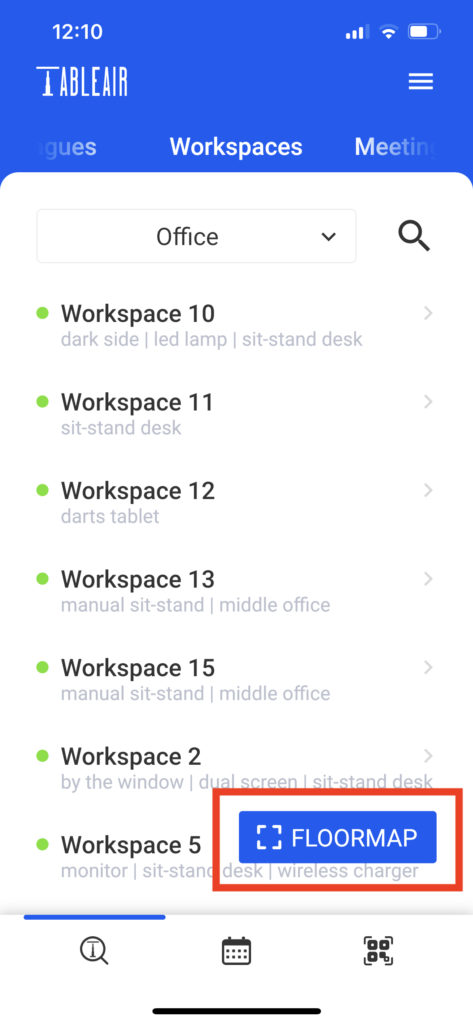
Once you log in, you will be brought to the workspace list. Here you can see a list of all the resources in one of the venues in your team:
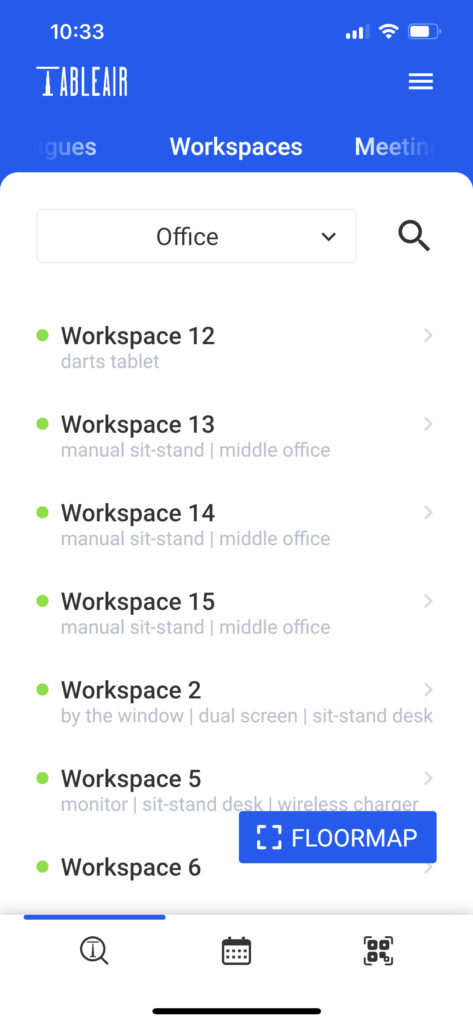
On the right side of the venue name, you will see the total number of available and booked resources:
- Green – available
- Blue – booked
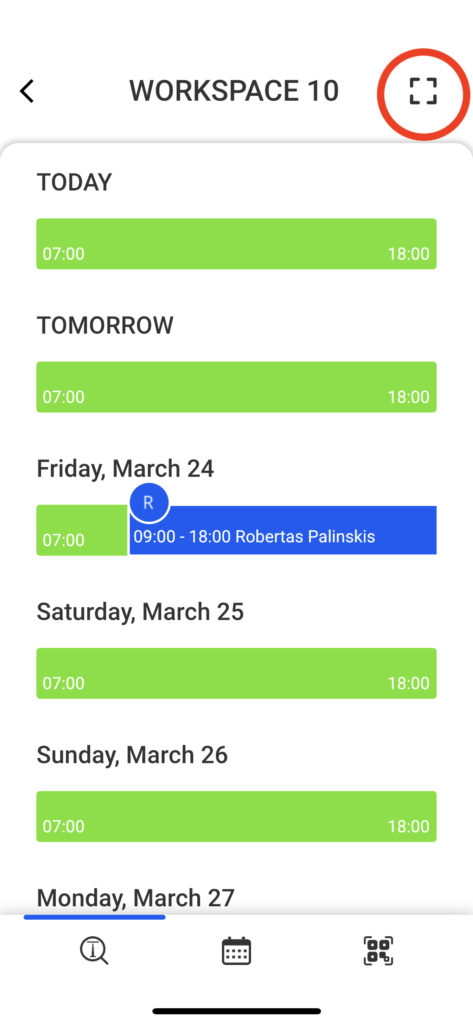
Select any workspace and click on it. You will be shown a list of timelines, which represent days:
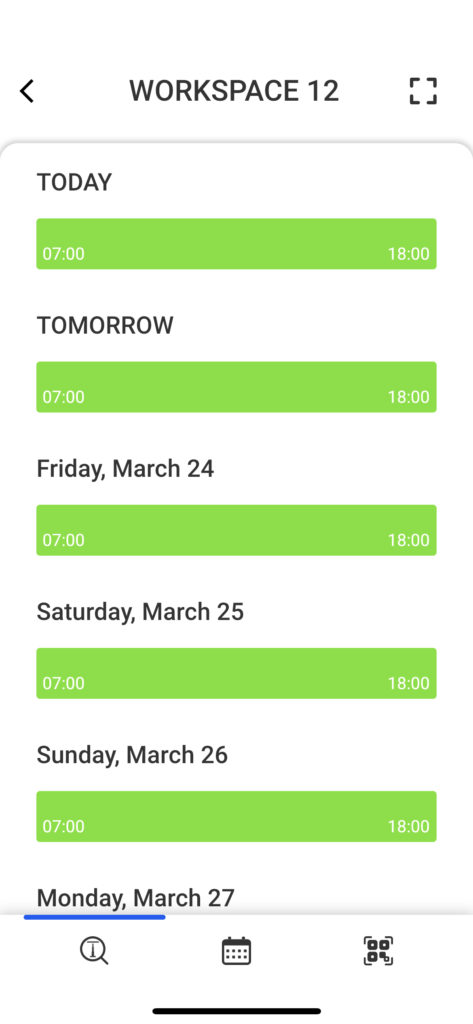
Select a day by clicking on the green bar:
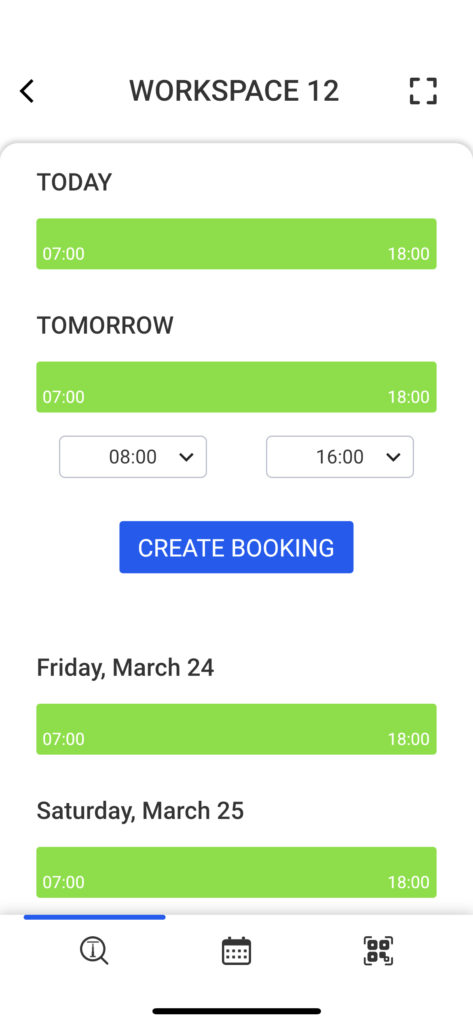
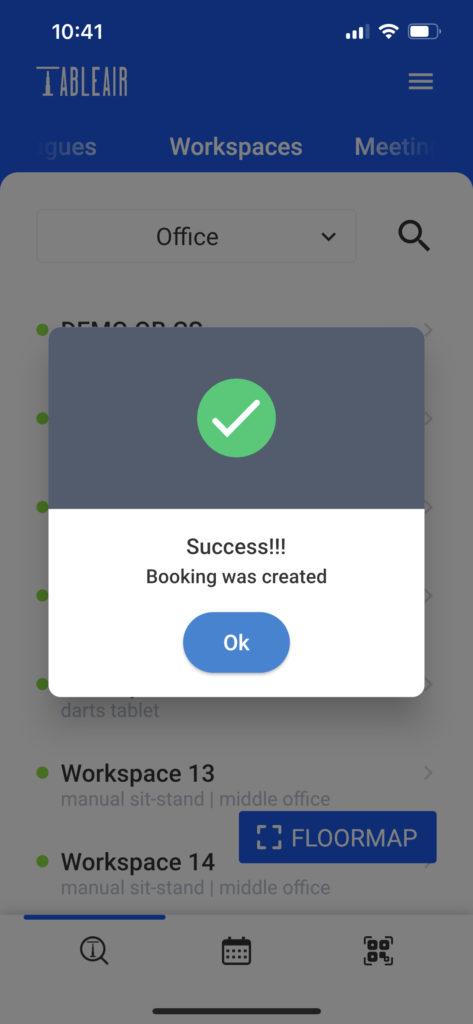
And select the time of the booking. Once you click the Book button you will be shown a pop-up message informing you if the booking was successfully created:
QR booking
NOTE: If you are an administrator, creating QR code stickers is very easy! You can follow the steps in the Administrator’s manual QR stickers section.
You can also book a desk by scanning the QR code. Press on QR scanner at the bottom of the screen and a camera will open (note that if opening for the first time, you will be asked to give the app permission to use your camera):
Once it is open, scan a QR code which should be found on the desk:
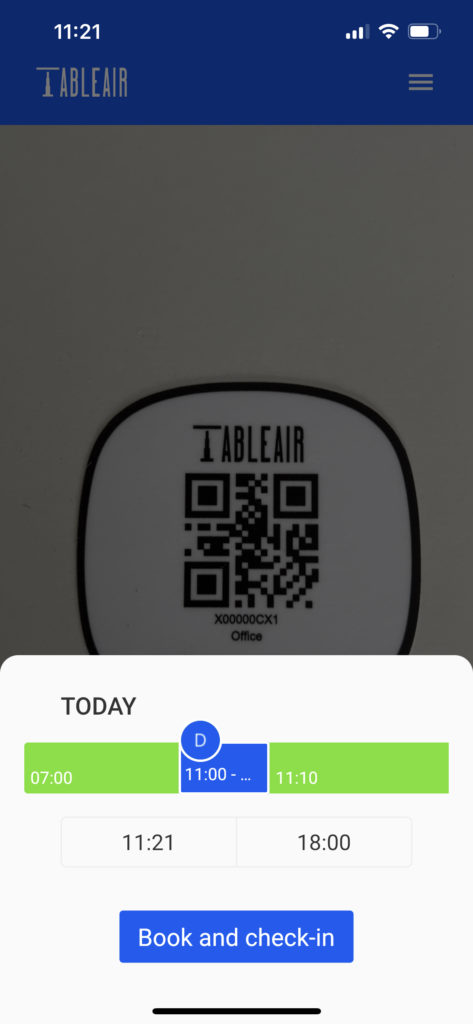
Once you do that, the workspace will be shown on your screen with its current status (available or booked). If the workspace is available, you can select the time and book the workspace. Check-in is automatically done. If you click on the time you will be able to select how long the booking should last (you select the time at which your booking ends).
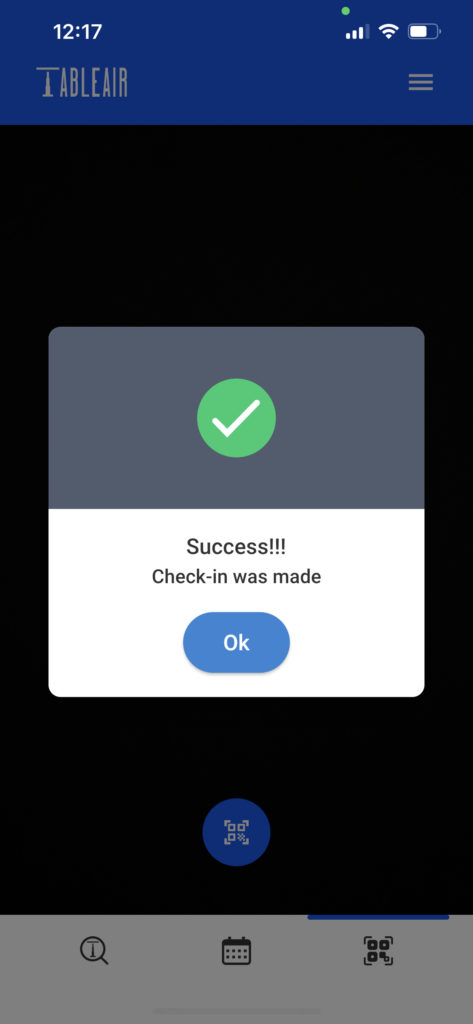
Checking into a booking
You can also check into a booking using the app. If you create a booking using the web, you can scan the QR code of the desk after your booking starts and check-in. You can also change the duration of the booking by changing the UNTIL time.

Releasing the booking with QR
After check-in has been completed, you can release your booking using a QR code. To do this, point your QR scanner to the QR code displayed at the workspace you wish to release and press the ‘Release booking’ button.”
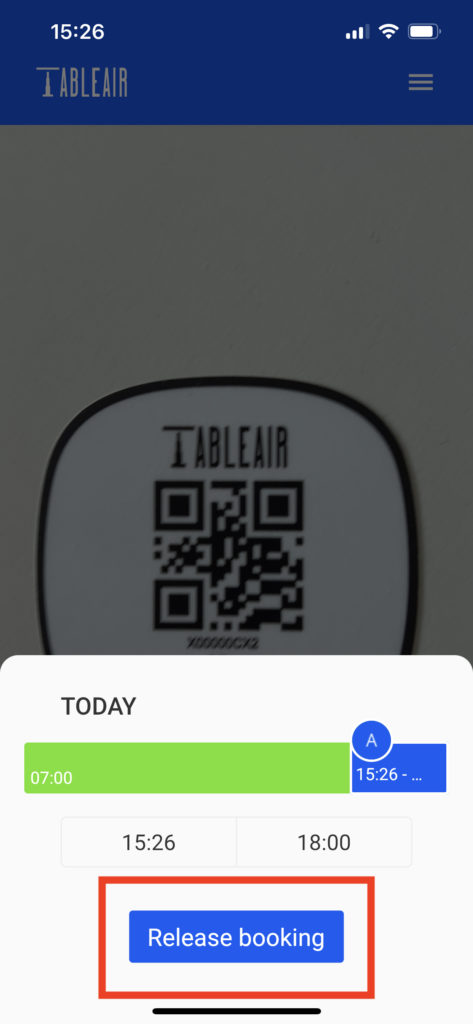
Your reservation will be released and the time gap will become available for another user.
Changing the venue
To change the venue, you can click on the venue name at the top:

The venue list of your team will be shown:

If venue hierarchy is set up in your team, it will be shown accordingly in this list. Additionally, you are able to search for a certain venue by typing its name in the field above the list.
On the right side of the venue name, you can see the number of available workspaces.
Searching for workspaces
You are able to search for a specific workspace by name by clicking the search icon:
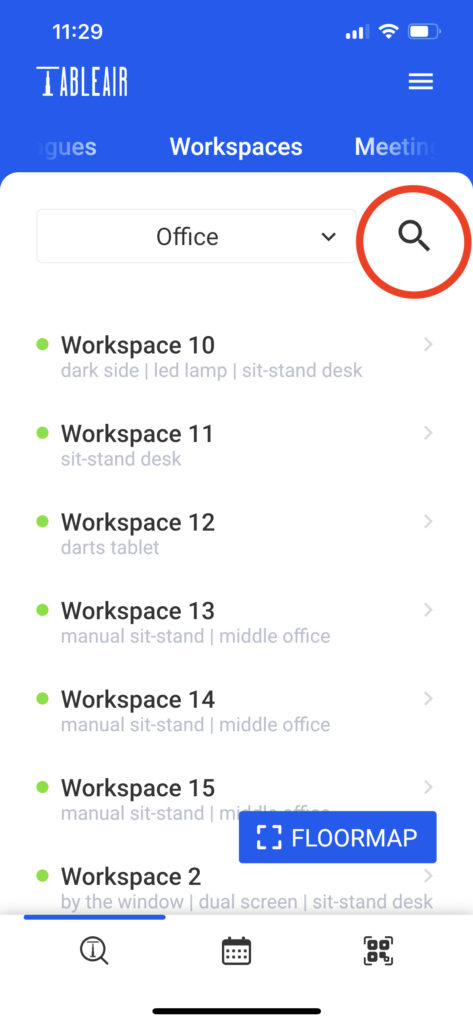
You can type the name of the resource you are searching for. You can also use the time filter, which allows you to find resources that are available for a distinct date and in some time frame::
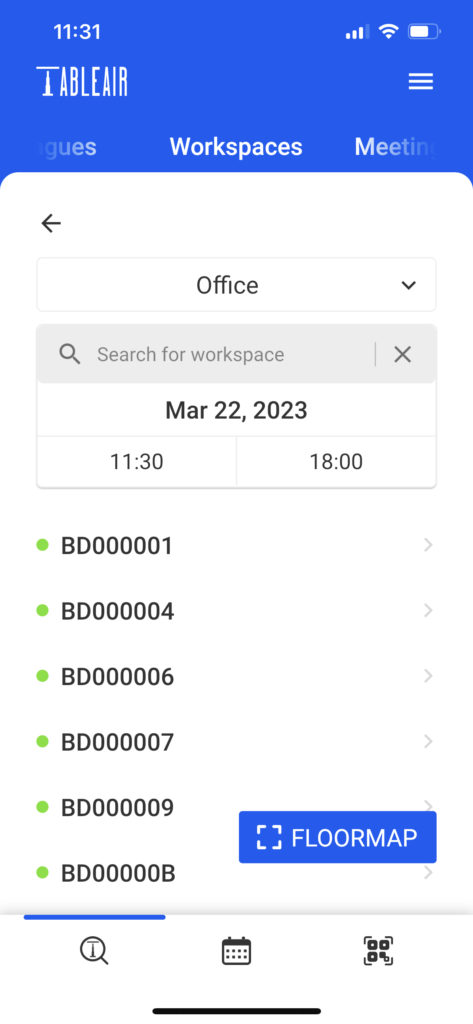
Note that the same filtering system is used for all resource types – workspaces, meeting rooms, and parking spaces.
Booking type – meeting rooms, parking spaces
To change which resource type you want to see, swipe the following selection:
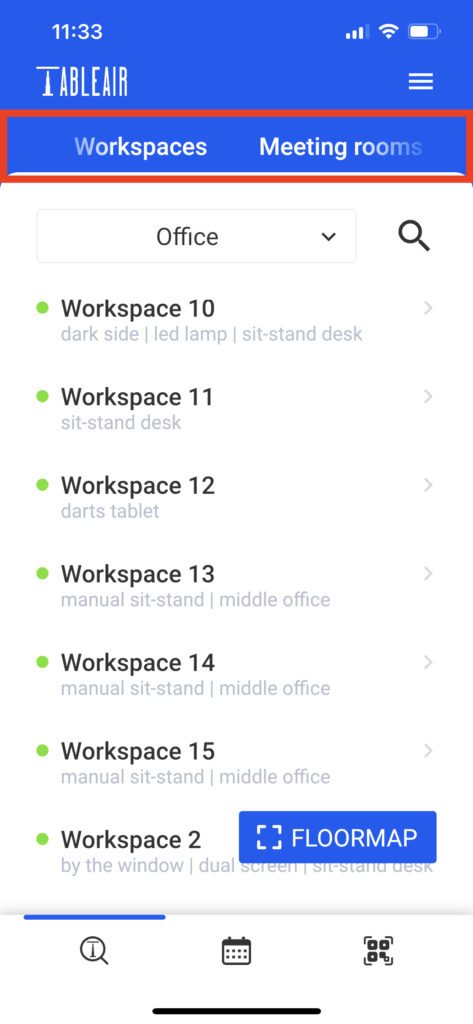
After choosing Meeting Rooms, you will see the list of available selected resource type in this particular venue.
Creating a meeting
To create a meeting, first, select the according resource type. In the list of meeting rooms, select the particular meeting room:

Same as with workspaces, you will see a list of timelines:

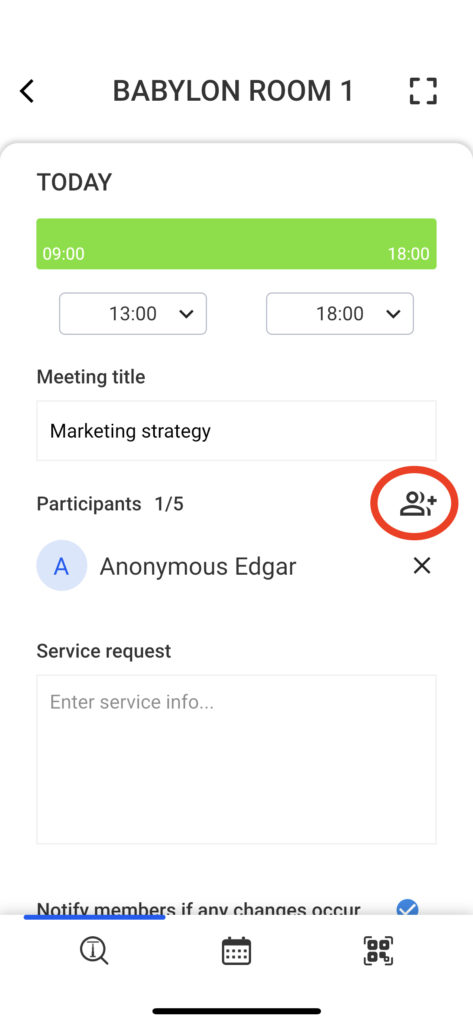
After selecting the date, you will need to select the time and fill in the meeting title, which is mandatory:
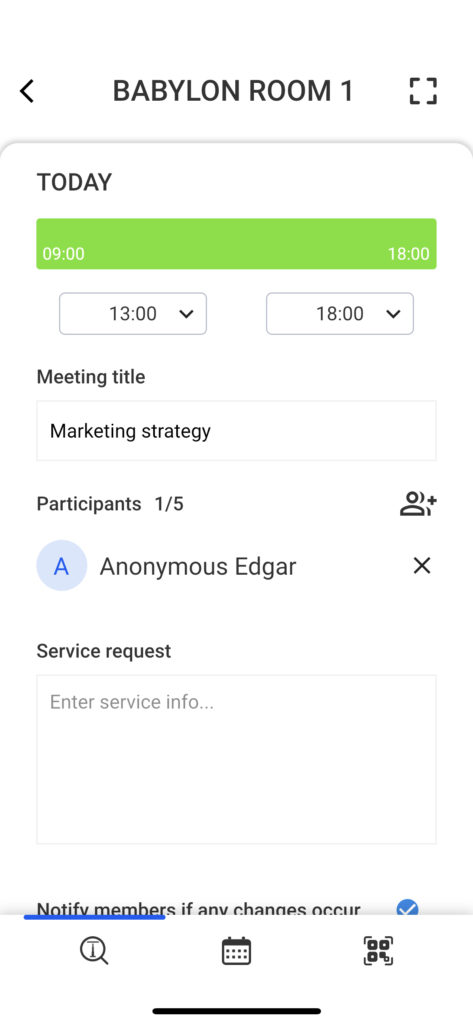
You can invite your colleagues to the meeting by clicking on the following button:
From the list select users:
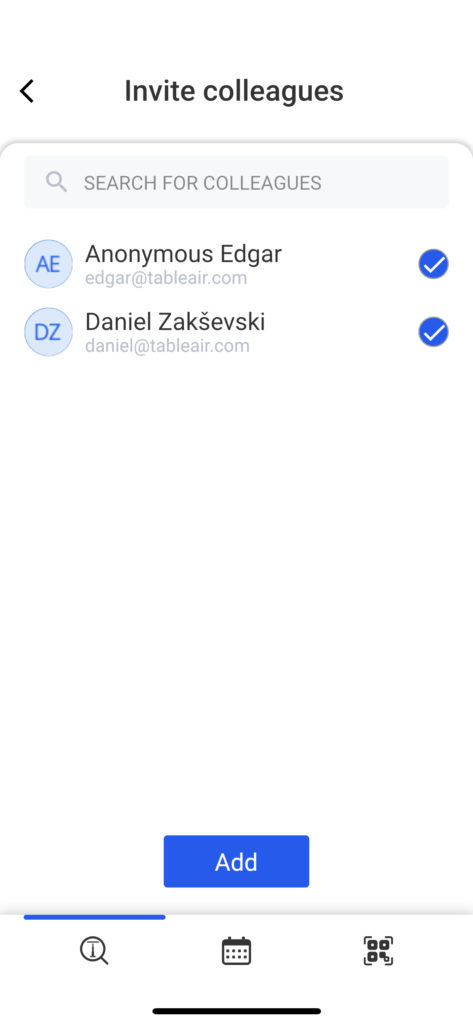
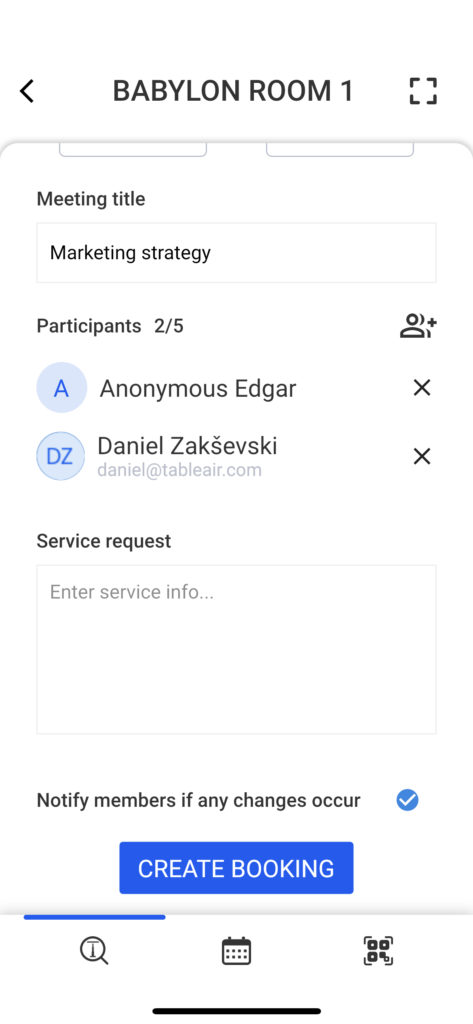
And click add. The added users will be shown in the meeting overview. Once you are done filling in the details, scroll down and click Create:
Colleague module
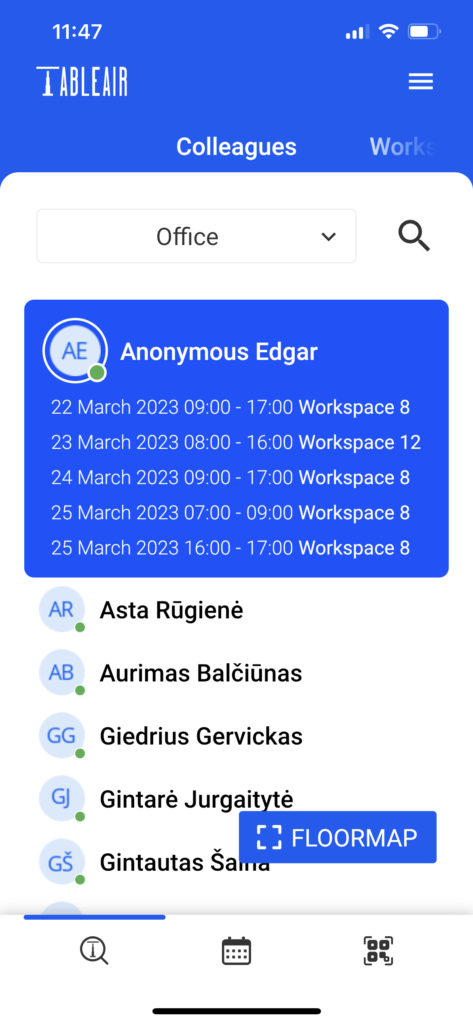
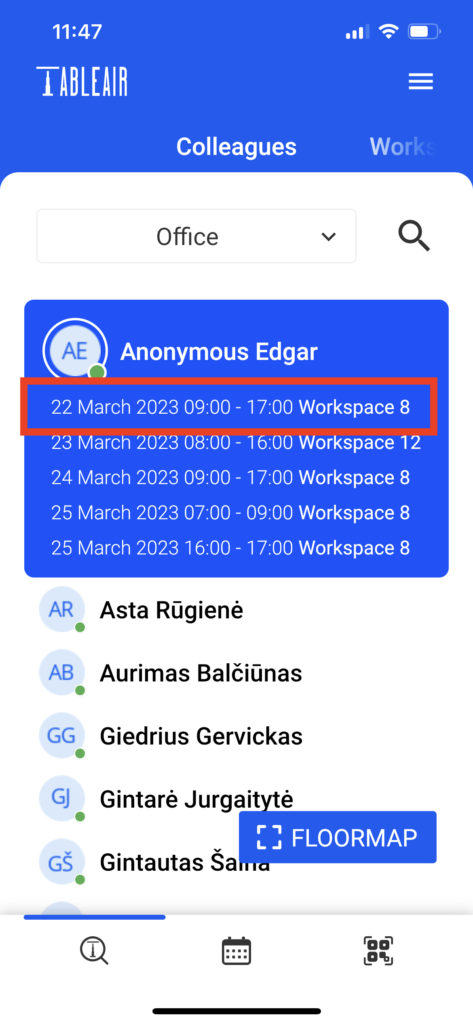
You are able to see if your colleagues have bookings, when they have them, and where. By going to the colleagues’ section you will be shown a list of users. Active users (those that have a booking at this moment) are shown at the top and have a green circle next to their name.

By clicking on any users you will be able to see all of their bookings:
Next, if you want to see where a booking takes place you can click on one of the bookings themselves:
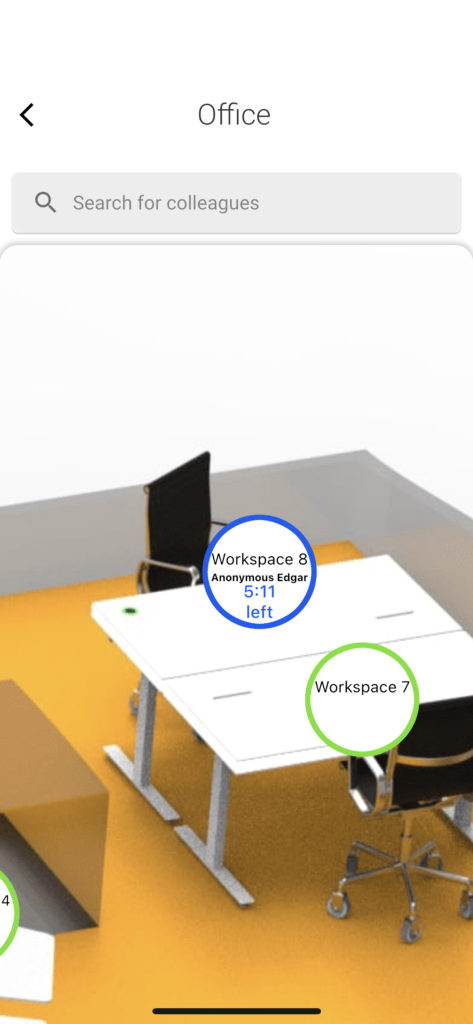
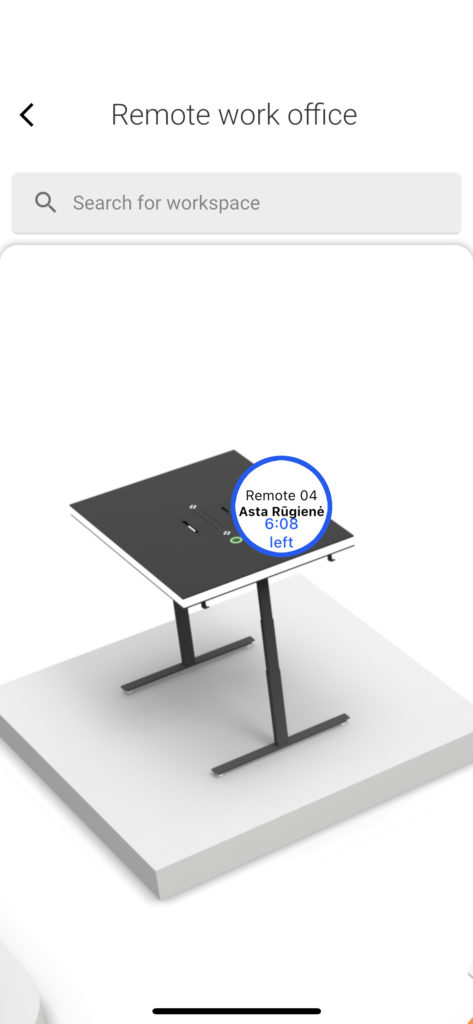
You will be redirected to the floor map with the workspace centered:
You can also search for your colleagues by typing their names into the search box:
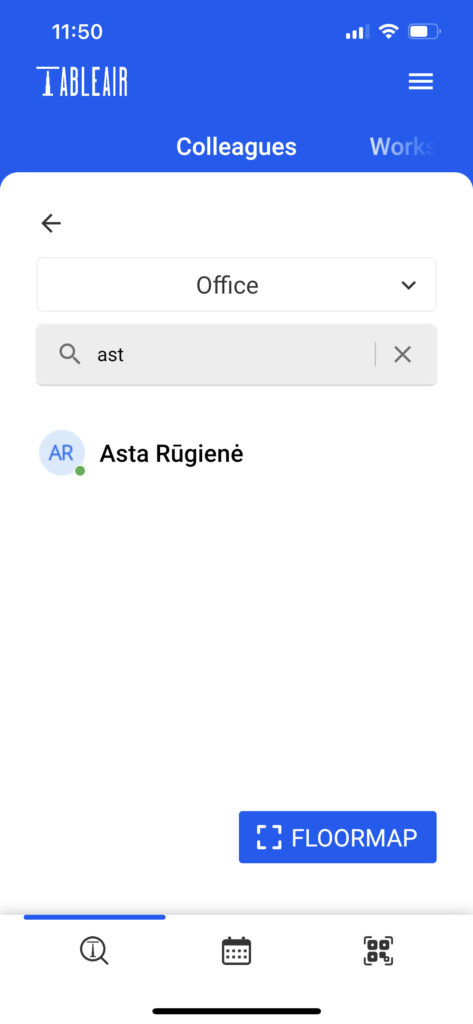
When you have found the colleague you were looking for you can click on them as previously shown:
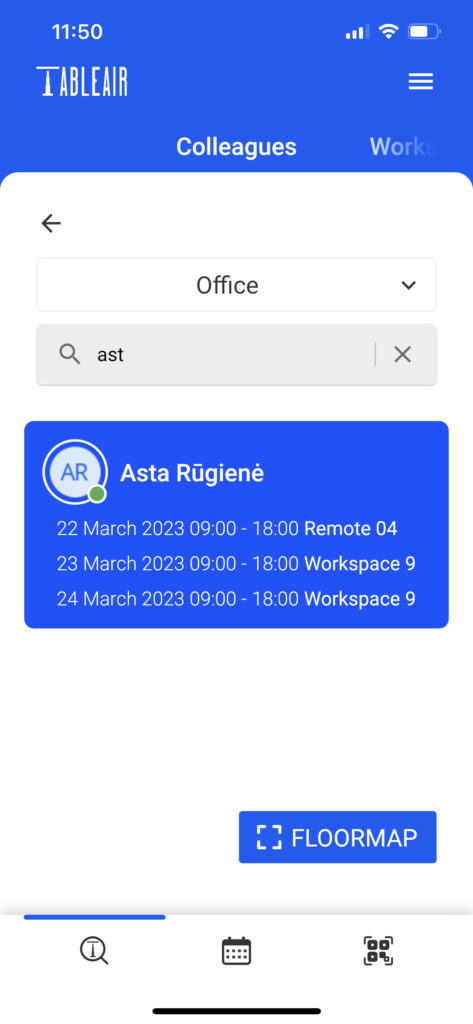
And again, you can click on a booking and you will be shown where the booking takes place:
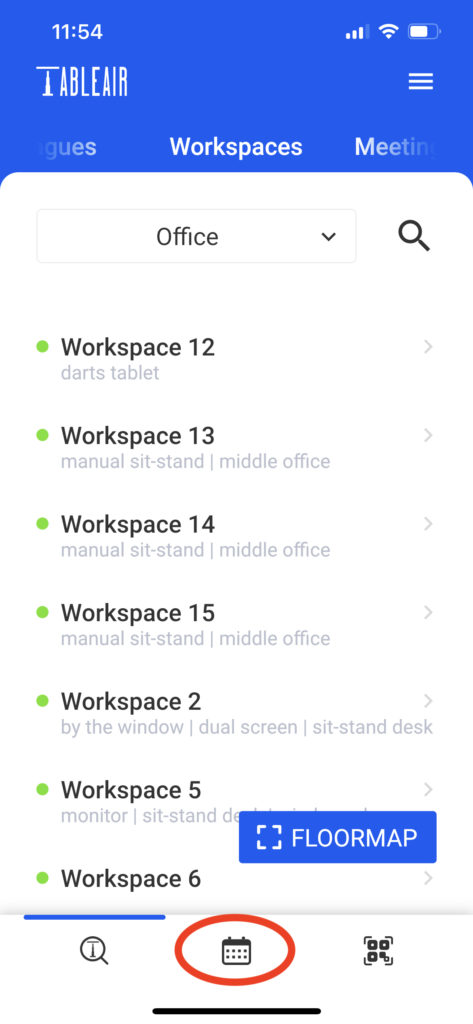
Calendar
You can see your future bookings in the calendar. It is accessible by using the Calendar button:
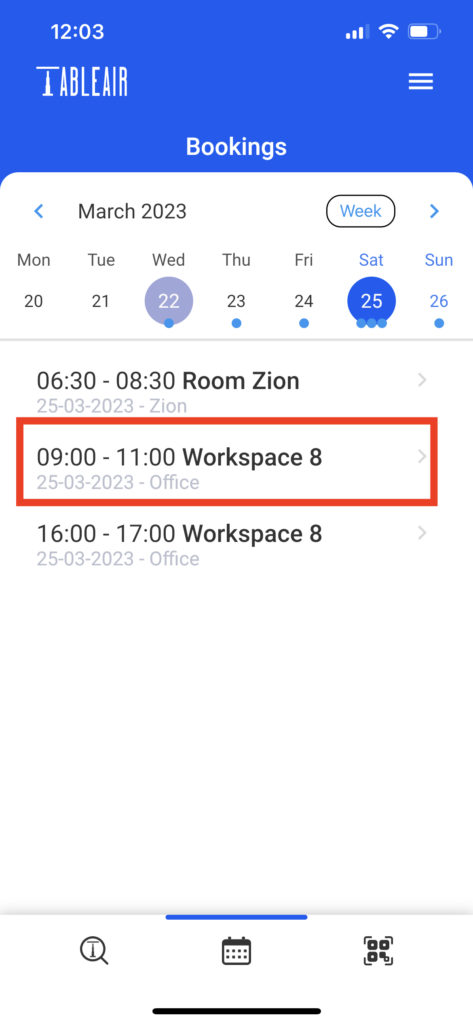
You can use the calendar to see all your created bookings and meetings in one place. Simply click on any day and you will be shown a list of bookings for this day:
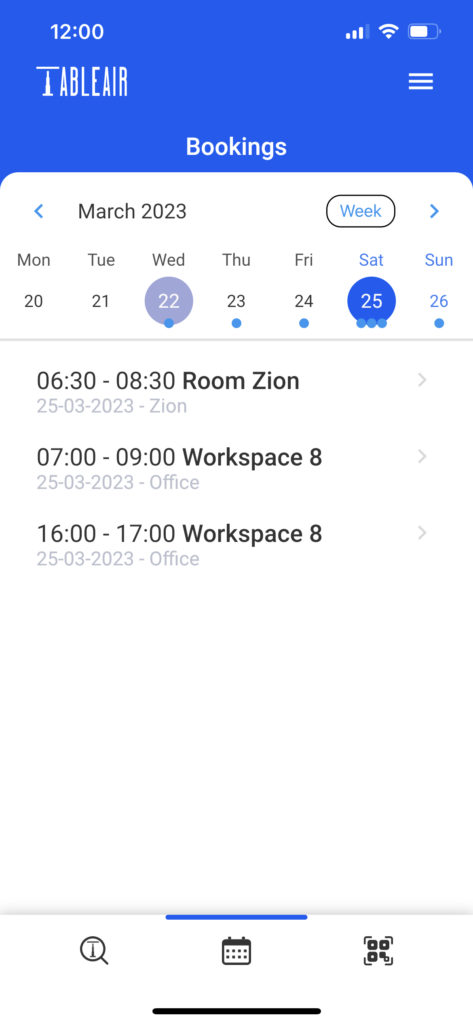
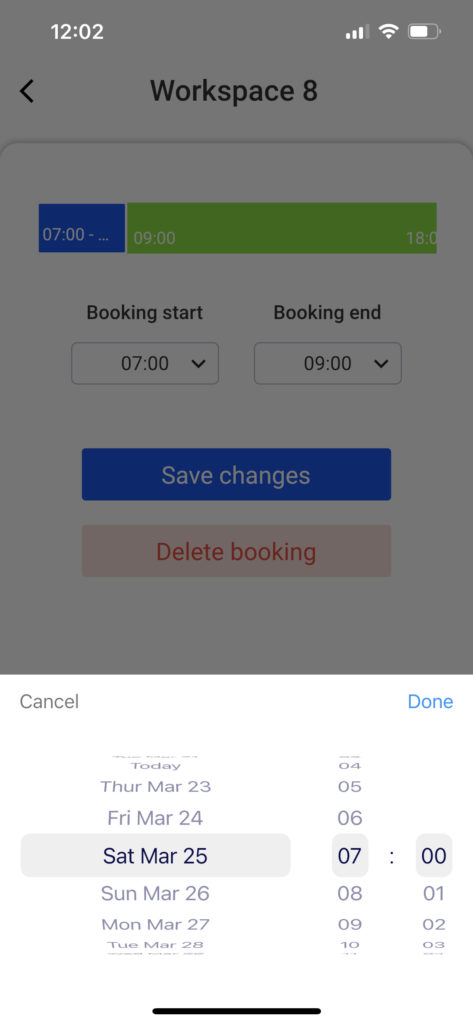
If you click on a booking, its information will be displayed: start and end times, the date:
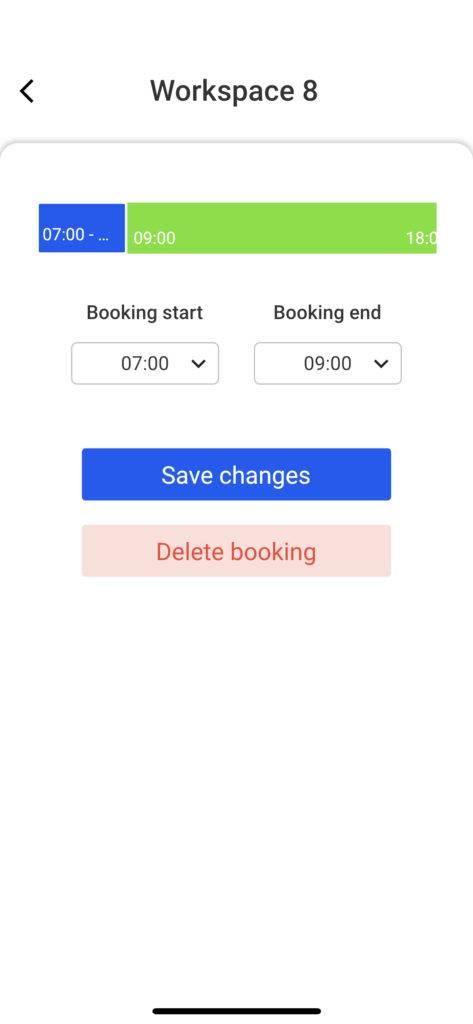
By clicking on the respective field, you can edit the start and end times for the booking:
After clicking the “Save changes” button, changes will be displayed on the screen.
You are also able to delete a booking by selecting it and pressing the “Delete booking” button.
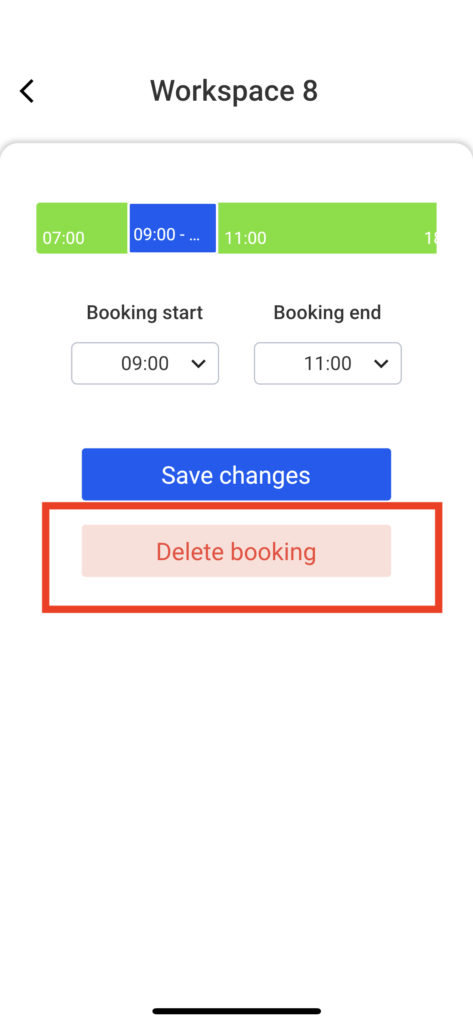
After confirming your decision, the booking will be deleted.
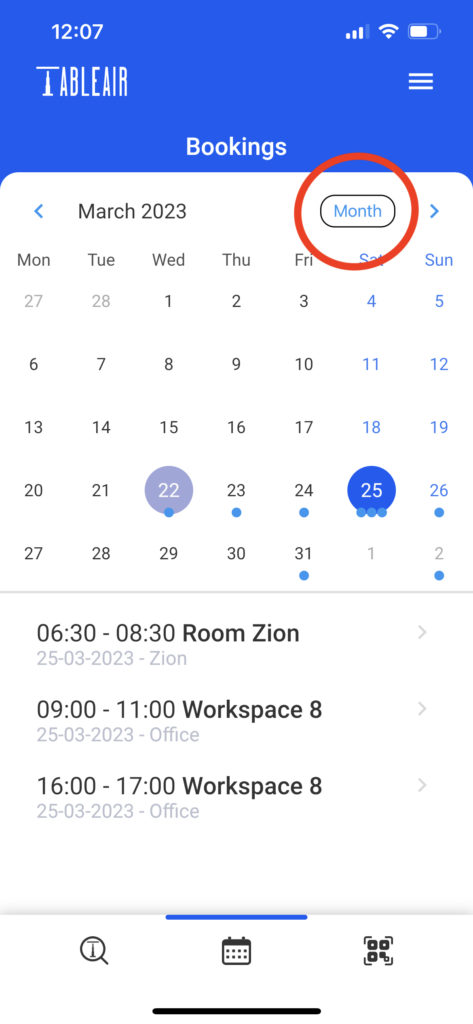
In the calendar, you can also change what timeframe is shown by clicking on the following button:
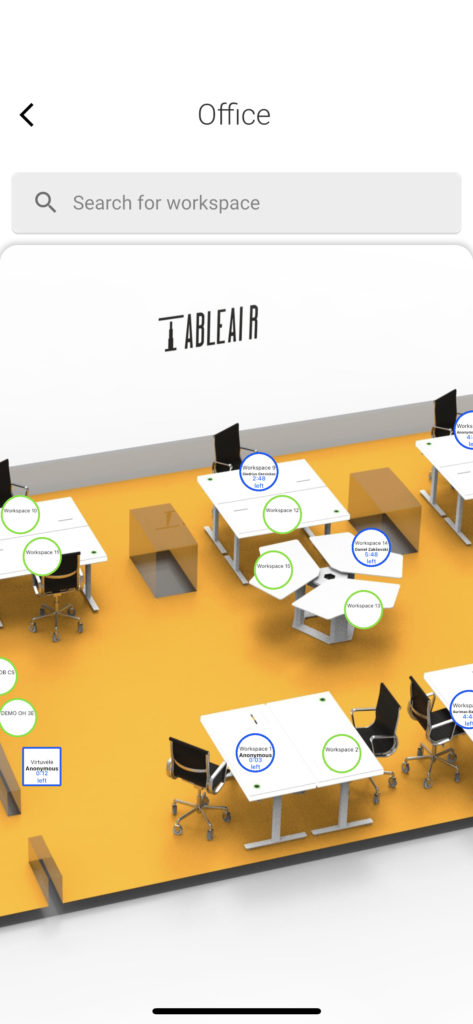
Floor map
You can access the floor map by clicking on the “FLOORMAP” button in the list:
Or you can find the location of an exact resource by clicking on the following button while having a resource open:
The resource will be centered on the screen.
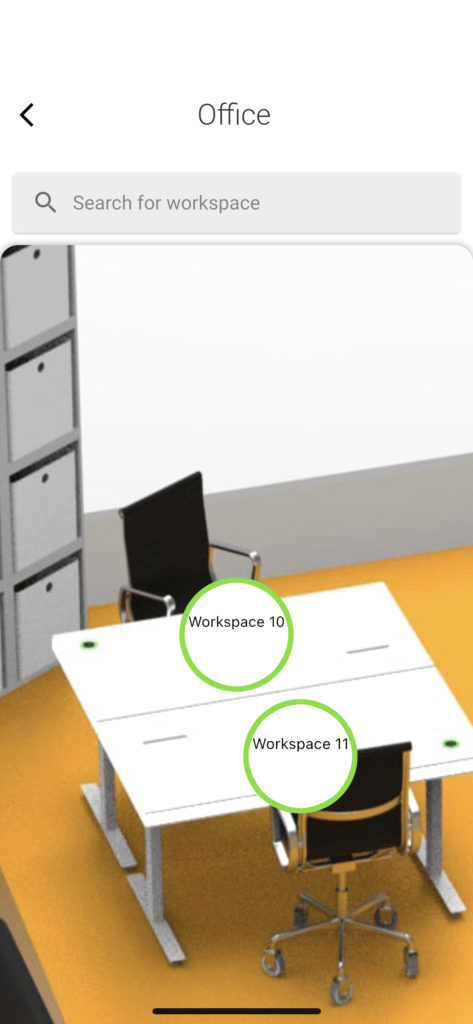
On the floor map, all the resources are visible. By clicking on any resource you will see its timeline the same way as in the list.
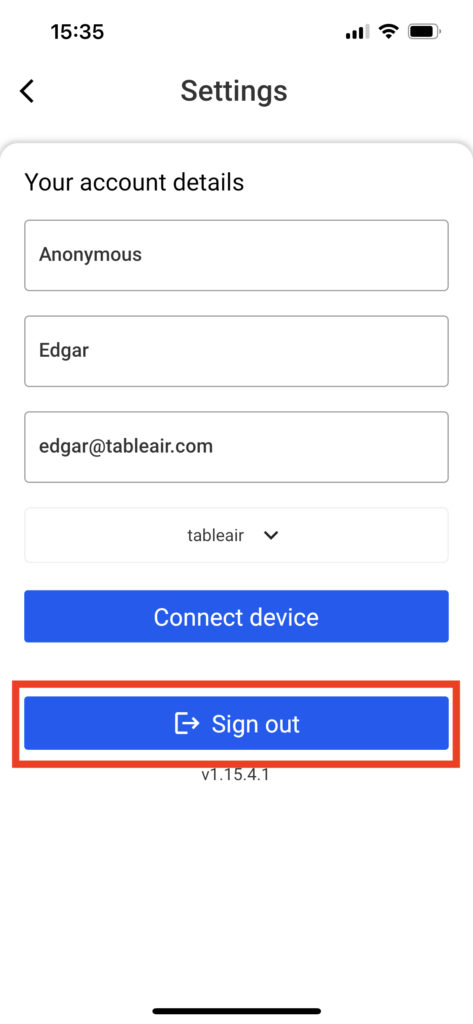
Signing out of the app
To sign out of the application, press on the sandwich menu on the top right corner of the screen and press “Sign out” button
After signing out you will be forwarded to the login page